Overview
Administrators can edit and delete an existing field. Applying edits to an existing field will affect all object types related to the field. Deleting a field will remove the field from all related object types.
User Account Requirements
The user account you use to log into Resolver must have Administrator permission to edit or delete a field.
Related Information/Setup
Please refer to the Select List Field article for further information on adding a new select list field.
Navigation
- From the Home screen, click the Systems icon.
![]()
System Icon
- From the Admin Overview screen, click the Fields tile under the Data Model section.
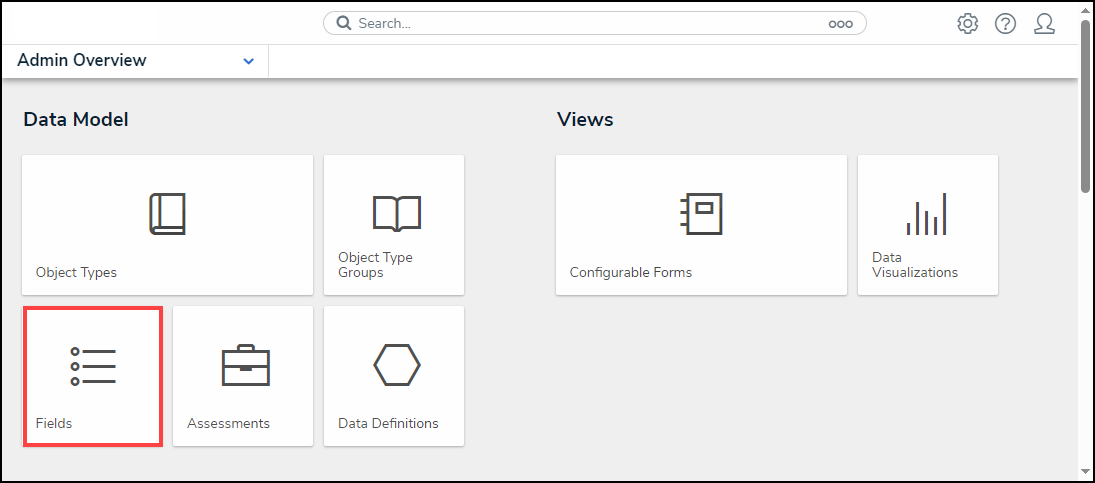
Fields Tile
- From the Admin: Fields screen, enter a keyword in the Search field to narrow the search results.
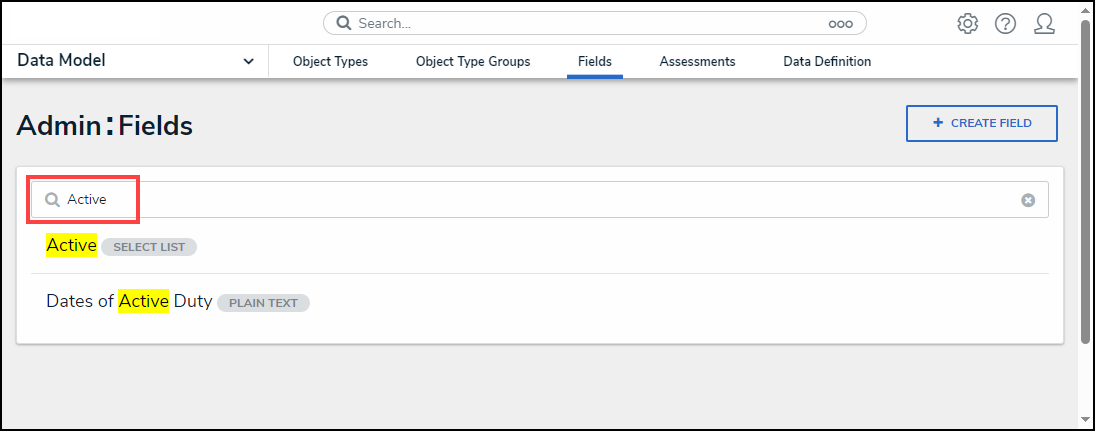
Search Field
- Click the Field link for the field you want to change.
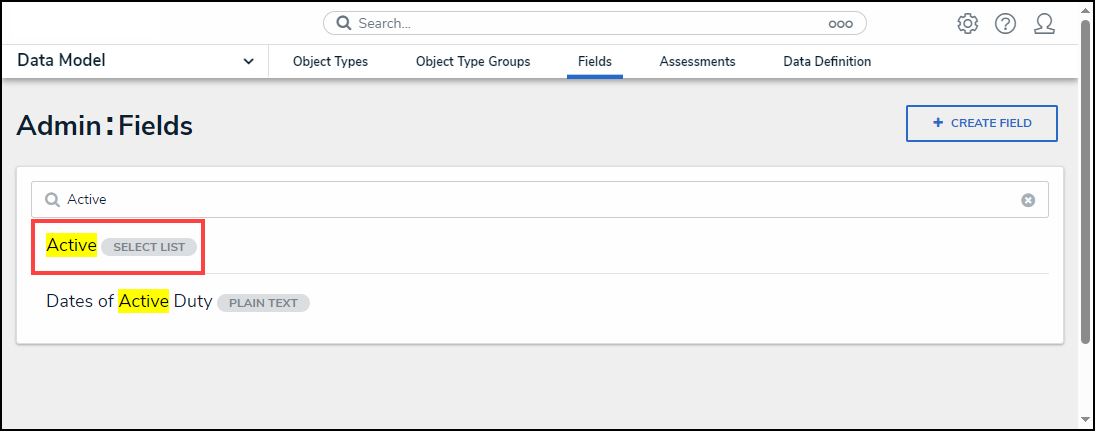
Field Link
Editing a Select List Field
- From the Admin: Edit Field screen, users cannot edit the Field Type field. Instead, you must create a new field.
- Enter a new field name in the Field Name field.
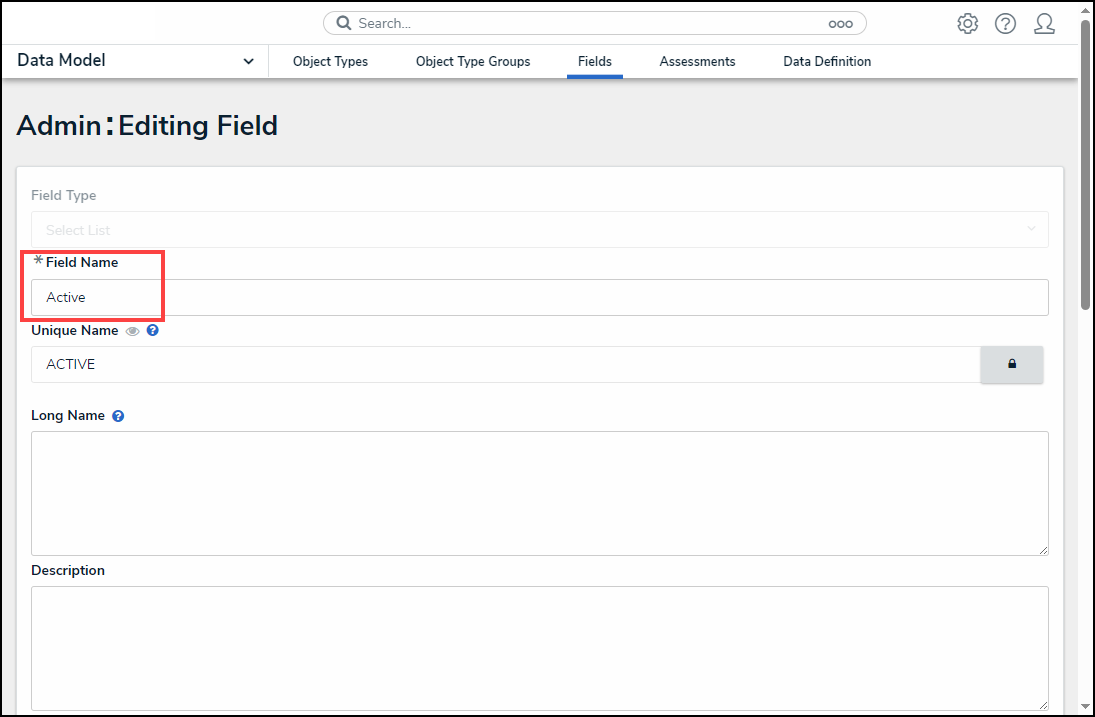
Field Name Field
- Click the Lock icon to unlock and edit the Unique Name field.
![]()
Lock Icon
- A Confirmation screen will appear, indicating that changing the unique name can interfere with existing data as it is used throughout the system.
- Click the Unlock button to unlock and edit the Unique Name field.
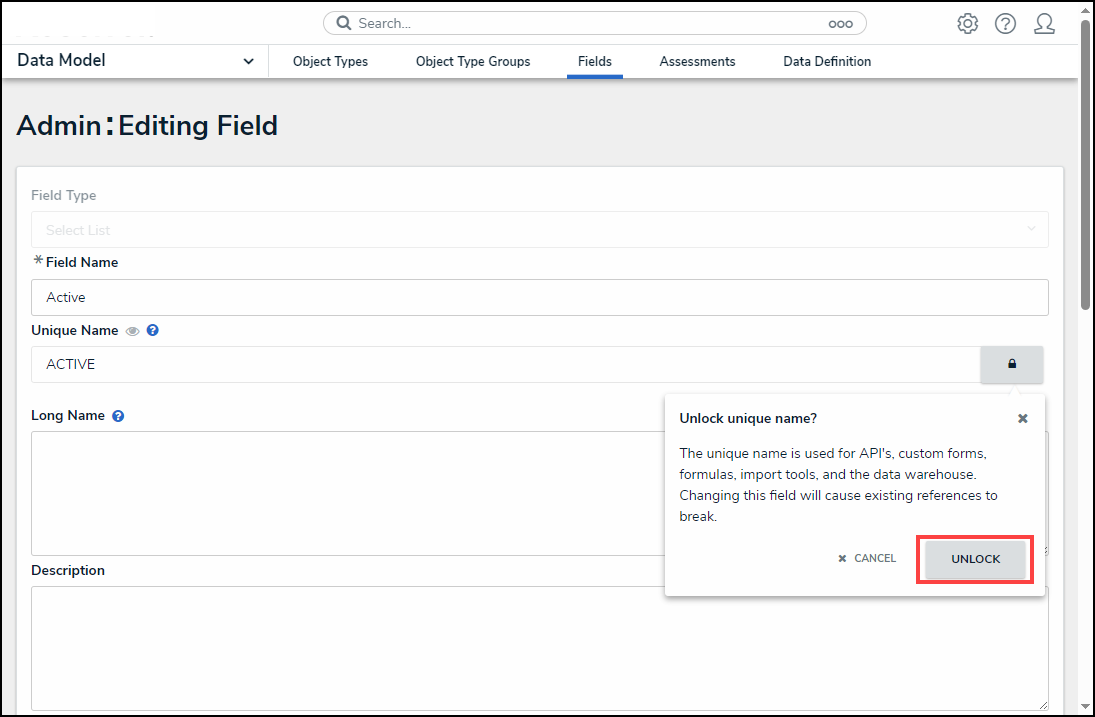
Unlock Button
- Enter a new long name in the Long Name field. The Long Name field can include an alternate name, alternate spelling, or additional instructions. The Long Name can appear on configurable forms.
- Enter a new description in the Description field. The Description field can be used for additional information.
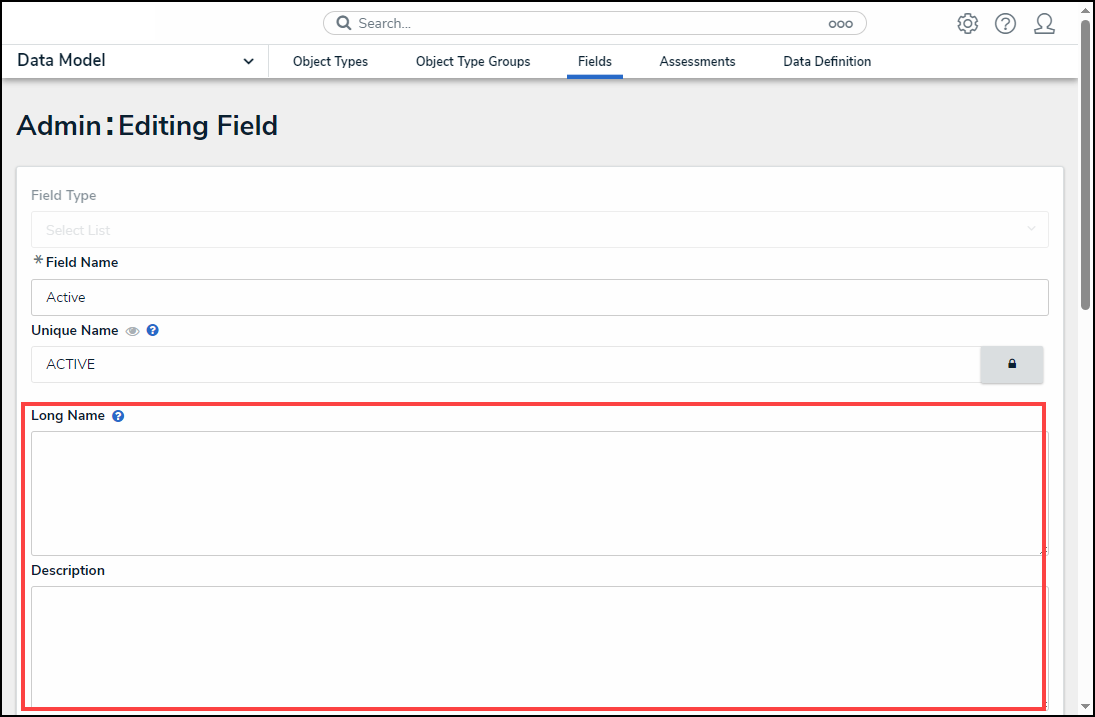
Long Name and Description Fields
- The Selection Type radio buttons will appear if the Field is a single-select or a multi-select list.
- Click the Multi-radio button to switch from a single-select to a multi-select list.
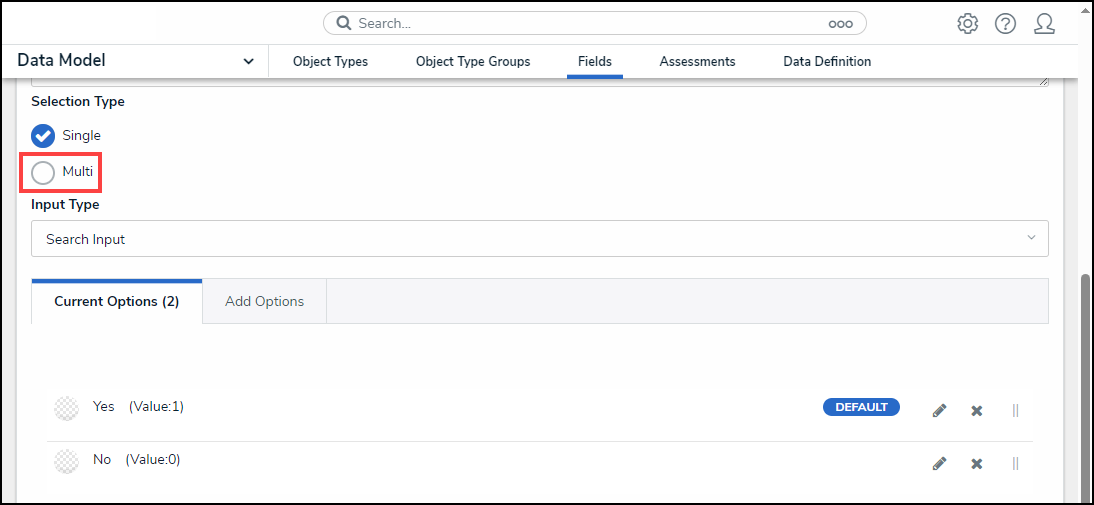
Multi-Radio Button
- A Confirmation screen will appear, indicating that the switch cannot be reversed.
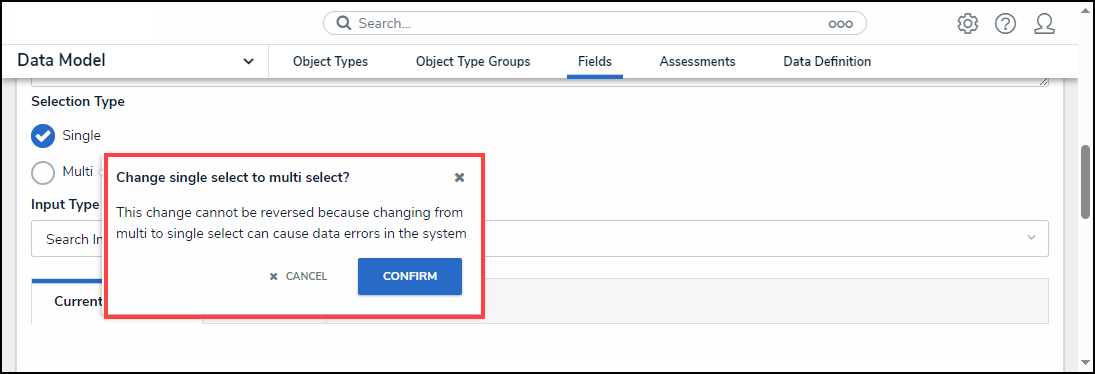
Confirmation Screen
- Click the Confirm button to switch from a single-select to a multi-select field.
- Users cannot switch a multi-select list to a single-select list.
- Select a new input type from the Input Type dropdown menu either:
- Search Input: Select field values using a search input field.
- Dropdown: Select field values using a dropdown menu.
- From the Current Options tab, users can edit the value by clicking one of the following icons:
- Edit
- Delete
- Move
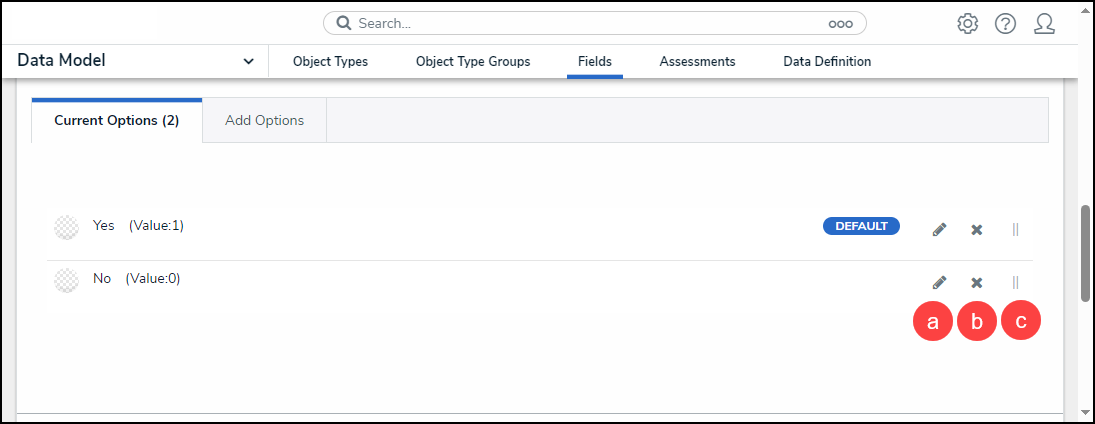
Current Options
- If the field has been added to one or more object types, those object types will appear in the Related Object Types section at the bottom of the Editing Field page. Click the object type to view its Edit Object Type page.

Related Objects
- Click the Done button to apply any changes to the Field.

Done button