To create a priority:
Click Settings >
 Priority.
Click the
 Create icon in the pane to the left.
Enter the name of the priority in the Priority Name field.
Optional: Type or use the
 arrows beside Order to adjust the order of the priority. This will determine where the priority will appear in the Priority dropdown menu for new dispatches.
- Optional: To limit which users can access the priority based on the operational zone, click the Accessible Operational Zones dropdown menu, then select the checkboxes beside the appropriate zones.
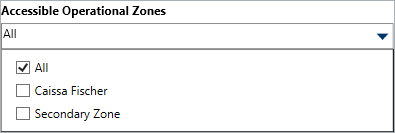 The Accessible Operational Zones dropdown menu.
- Optional: If you want to create a visual alert for a priority:
Select Default, Classic, High Contrast, or Resolver Theme from the Theme dropdown menu.

Ensure the new priority theme matches the theme selected in User Settings, otherwise you won’t be able to see your changes. Select a color from the Color dropdown menu. If you don’t want to display a color, select
 Transparent from the color picker.
Select the Bold, Italic, Underline, and/or Strikethrough checkboxes if you want to add more font styles.
 Priority.
 Create icon in the pane to the left.
 arrows beside Order to adjust the order of the priority. This will determine where the priority will appear in the Priority dropdown menu for new dispatches.

 Transparent from the color picker.