Overview
A Data Visualization Filter is an optional feature that allows end-users viewing a report to narrow report data by applying Data Visualization Filters from the Filters pop-up on a Report. An Administrator selects the Data Visualization Filters that appear on the Filter pop-up. Object Types in the Report's Data Definitions determine which Data Visualization Filters are available to the Administrator when selecting the Data Visualization Filters available on a Report.
 Note:
Note:
The Data Visualization Filters feature is not available on Data Grids.
User Account Requirements
The user account you use to log into Resolver will need Administrator permissions.
Related Information/Setup
Knowledge of the following system elements and concepts will aid in determining what type of Data Visualization Filters you would like to apply to Reports. Please review the following articles that pertain to system elements and concepts in greater detail.
- Data Grids Overview
- Data Definition Overview
- Workflow Overview
- Roles Overview
- Focuses and Data Series
- Date & Time Fields
- Time Zones Conversion on Reports
- Select List Fields
- Formulas on Forms
- Relationships on Forms
- References on Forms
- Point-in-Time Reporting
Navigation
- From the Home screen, click on the Administration icon.
![]()
Administration Icon
- From the Admin Overview screen, click on the Data Visualizations tile.
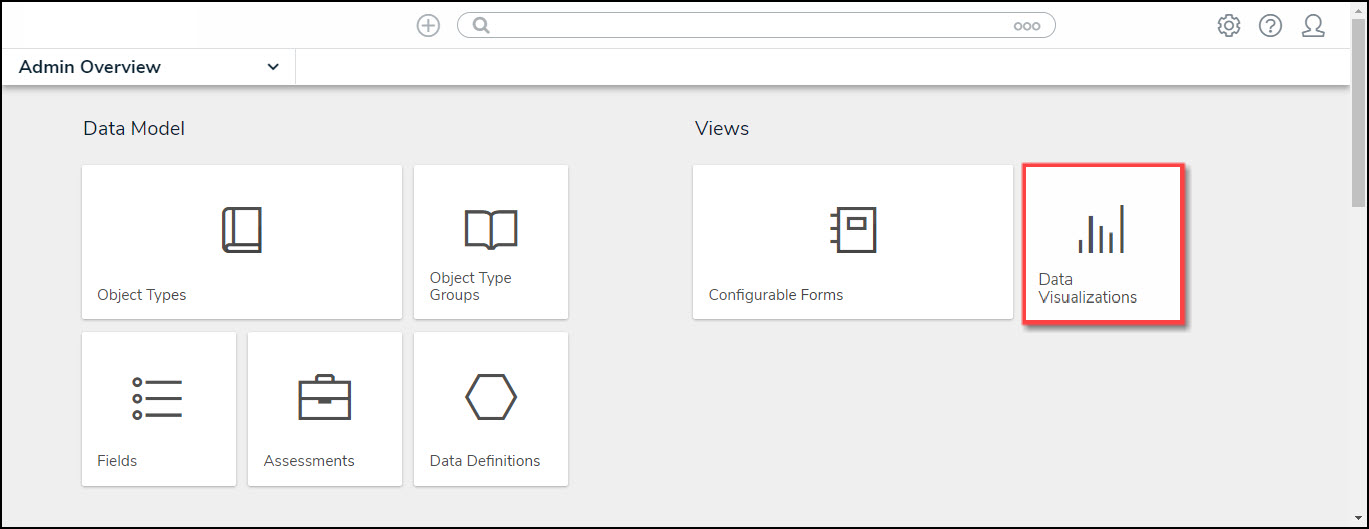
Data Visualization Tile
- From the Data Visualizations screen, enter a Report Name in the Search field to narrow the Reports List.

Search Field
- Click on a Report.

Report
- From the Edit Report - Data Visualization screen, scroll to the Filters section.

Edit Report - Data Visualization Screen
- Click on the Configure Filters link.

Configure Filters Link
Add Data Visualization Filters to a Report
- From the Configure Filters pop-up, select filter options:

Configure Filters Pop-up
- State: Filters the report data by the Object's current workflow state.
- Role: Filters report data by users or user groups in explicit Roles. Roles gain access to Objects from the report's Data Definition.
- A Role must be added to an Object Type in the Table, Chart, Heat Map, or Repeatable Form Data Series to use a Data Visualization Filter Role.
- Date & Time: Filters the report data using date ranges from a Date & Time field. If it's configured to collect the time and date, it's filtered based on the current user's time zone. See the Time Zones on Reports article for more information.
- Select List: Filters the report data by select list fields.
 Note:
Note:
Multi Select Lists (a Multi-Select List is where multiple options can be selected from a dropdown list) are not supported and cannot be used as report filters.
- Formula: Filters the report data by formula label.
 Note:
Note:
If you display a formula on a table, the formula(s) won't auto-calculate based on non-formula filters.
- Relationship: Displays report data from a selected relationship object type and any related reference object type. For example, selecting the Risk 1 object type as a filter will also display all the Control objects that Risk 1 appears on through a relationship.
 Note:
Note:
References are not available to be used as filters.
- Object Type: Displays report data from a selected object type.
 Note:
Note:
Resolver currently does not support plain text field Data Visualization Filters.
- (Optional) Click the
 icon beside Enable Filtering by Report Date to allow users to view historical data based on a selected date. See the Point in Time Reporting article for more details.
 icon beside Enable Filtering by Report Date to allow users to view historical data based on a selected date. See the
Enable Filtering by Report Date Toggle Switch
(Optional) Marking a Data Visualization Filter as Required
An Administrator can mark a Data Visualization Filter as Required. When Data Visualization Filters are marked as required for a Report, a Filters screen will appear before the Report loads. Before loading the report, a user must select values for all required Data Visualization Filters. More Data Visualization Filters can be applied to a Report after the report has loaded.
- From the Configure Filters pop-up, scroll to where the selected Data Visualization Filters are listed.
- Click the Required checkbox beside a Data Visualization Filter.
 Notes:
The Enable Filtering by Report Date (Point-In-Time reporting) filter cannot be marked as required.
When marking a field Required, you may have to log out and back into Resolver to refresh the system before the change occurs.

Required Checkbox
- (Report Side) If the Required checkbox is selected for a Filter, a Filter screen will appear before the Report screen.
- Select a value for Data Visualization Filters tagged as Required.
- Click the Run Report button to load the report.

Report Side - Require Data Visualization Filter Fields