Repeatable forms display object data as it was entered into a form. This allows users to view and share non-editable, printer-friendly versions of completed forms with other users.
When configuring this element, admins select a data series, then define which objects will appear in the report by selecting a form and title for each relevant object type. If no form is selected for an object type, it will not appear in the report.
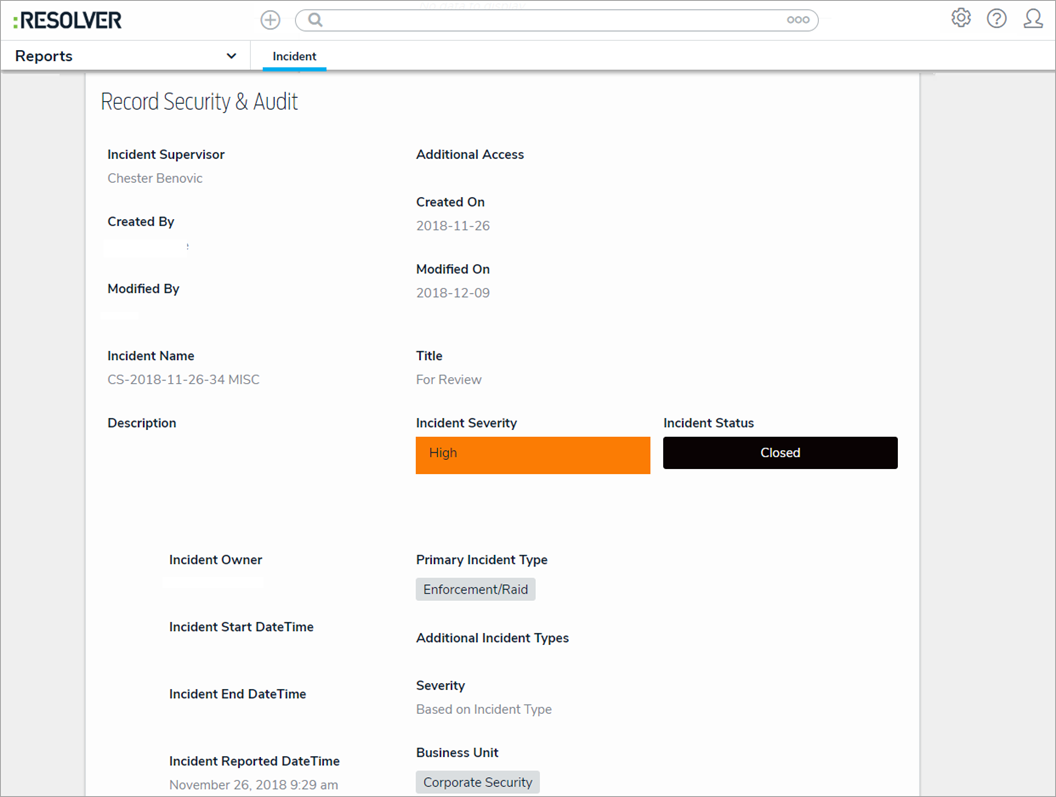 A repeatable form on a report.
Unsupported Elements
Only configurable forms with supported elements can be selected in this report. If a form with unsupported elements is selected, the form is skipped in its entirety and an error message is displayed in its place. These unsupported elements include:
- Relationship and reference tables and maps (relationship/reference dropdowns are supported);
- Assessment tables;
- Assessment context;
- Assessment dimensions;
- Tabs;
- Action buttons; and
- Workflow transition buttons.
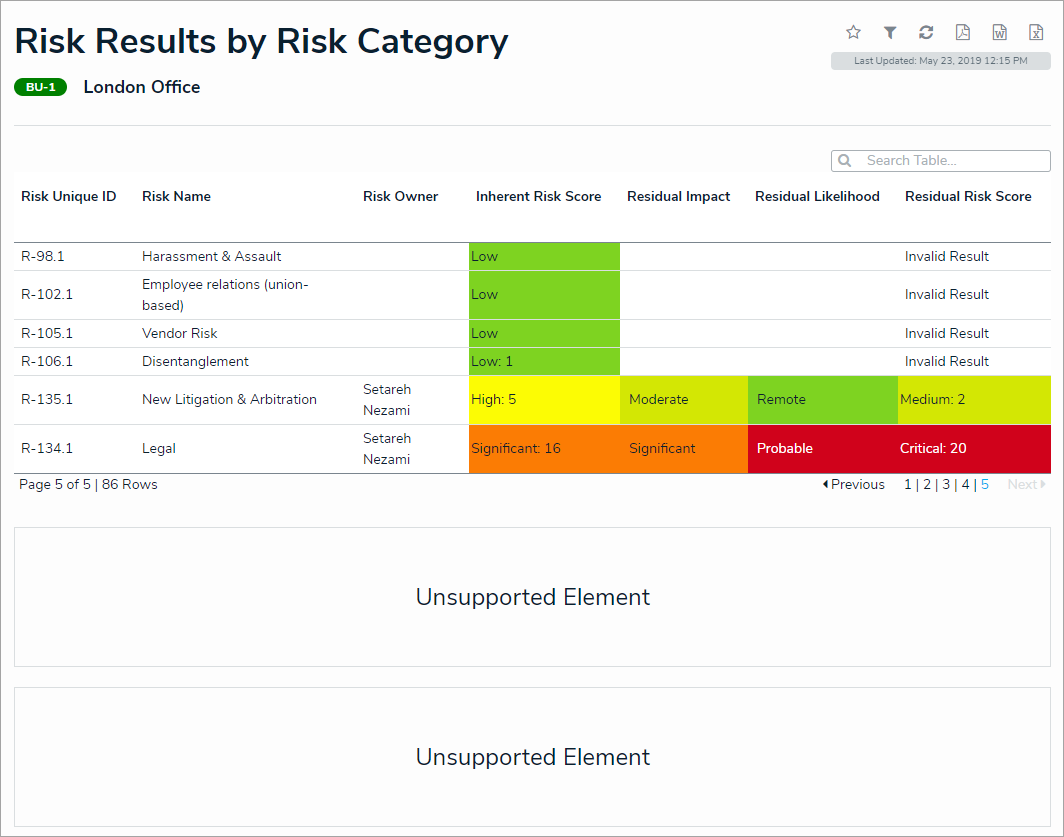 A report with repeatable forms that contain unsupported elements.
Important Notes
Instructions
To add a repeatable form to a report:
- In the Elements section, click the
 icon beside Display.
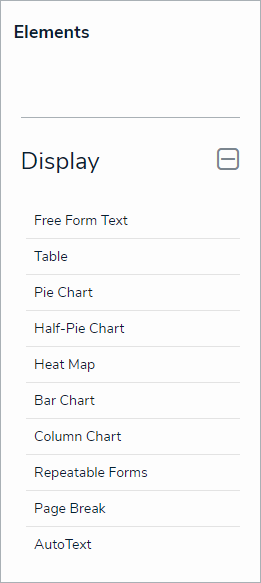 The Elements section.
 - Drag and drop Repeatable Forms from the Elements section to the Report Canvas.
- Select a data series from the Select a data series dropdown menu, then click Done. The data definition selected here will determine which object types' data you can choose to display in the repeatable form.
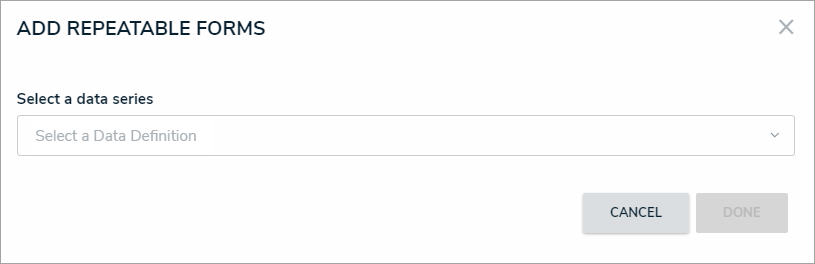 Selecting a data series.
 - Choose the data types you'd like to display in the form from the Data Type tab. Selecting LIBRARY DATA will include object type data, while selecting an Assessment Type will include the assessment name and workflow state. By default, all data types are selected. To make individual selections, deselect the Select All checkbox, then click the data type(s) you wish to include.
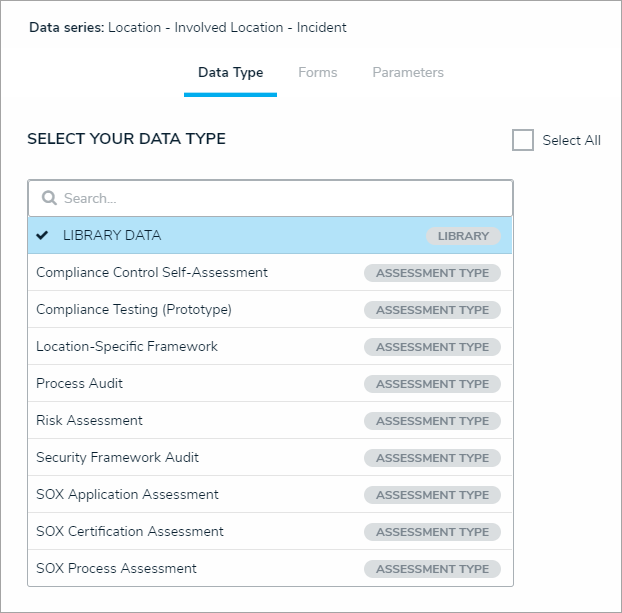 The Data Type tab.
 - Click the Forms tab.
- Select either the anchor or an object type in the data path from the Select a Relationship dropdown menu. The options in this dropdown menu will vary depending on the definition selected as the data series in the step above.
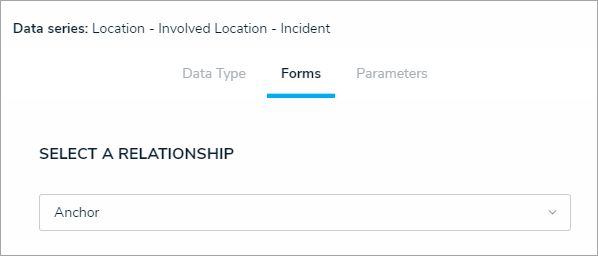 Selecting which object type's data will appear in the repeatable form.
 - Select a form from the Define Custom Forms dropdown menu. If the default option of None is selected for an object type, its objects will not be displayed in the report.
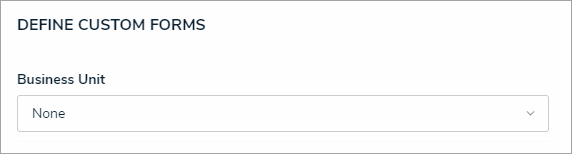 Selecting the custom form that will appear in the report.
Selecting a configurable form with unsupported elements will prevent the repeatable form from loading on the report. See the Unsupported Elements section above for more information. - Optional: From the Select Form Title dropdown menu, select which object property will be used as the form title. If you didn't select a form in step 7 above, skip this step.
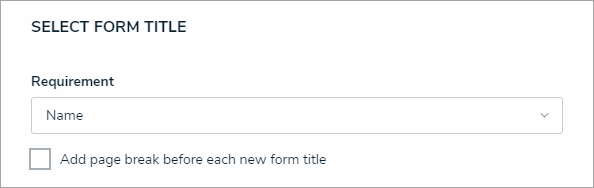 The Select Form Title section.
- Optional: Select the Add page break before each new form title checkbox to ensure each instance of the form starts on a new page when the report is exported to PDF. If no form title was selected in step 8 above, a page break is still inserted before each instance of the form when this option is selected. If you didn't select a form in step 7 above, skip this step.
- Repeat steps 6-9 above to add more forms and titles for additional object types.
- Click the Parameters tab.
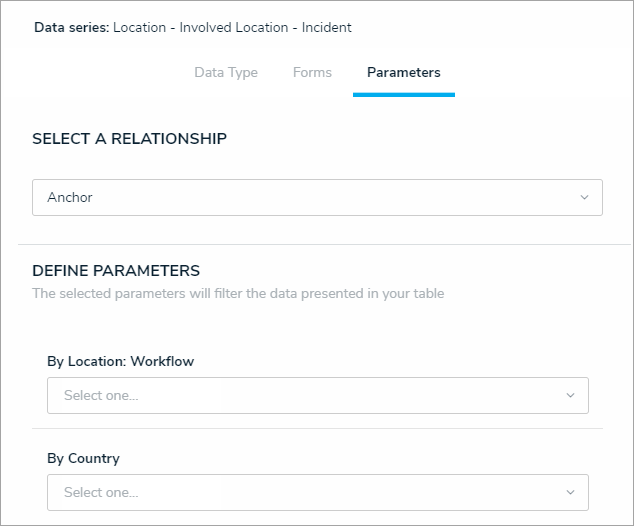 The Parameters tab.
 - Choose an object type from the Select a Relationship dropdown menu. The relationship selected here will determine which parameters (filters) you can apply to the form to refine the data that’s displayed.

You can add parameters from an object type in the data series even if that object type isn't configured to display any forms in report. - Below Define Parameters, select one or more parameters to filter the data displayed in the report. Options include:
- Workflow states
- Select list options
- Formula ranges (e.g., High, Medium, Low)
- By Current User. When one or more roles are selected in this parameter, only users within those roles can view the data in the table. This feature is useful to create customized reports for specific users. The available roles are determined by the object types in the table's data series; or
- By Date & Time Field or Created On/Modified On properties. Selecting a range in the By [Date Field] dropdown menu will filter the data relative to the value selected in the Date & Time field on the objects. Selecting a range in the By Created On ([Object Type Name]) or By Modified On ([Object Type Name]) dropdown menus will filter the data relative to the date the objects were created or modified. All date-related options filter data in UTC time. It's recommended a date parameter is used to refine large data sets for improved report performance. Options include:
- Today: Show data from today's date only.
- Last [X] Days: Show data within the last 30, 60, 90, or 180 days, relative to today's date.
- Custom: Shows data within the dates selected in the From and To fields. The table will include objects up to the end of that date.
- Repeat steps 12 and 13 above to add more parameters from additional object types.
- To remove a select list, formula, or role parameter, click the x icon beside parameter. To delete a date parameter, click the field, then press the Backspace or Delete key on your keyboard.
- Click Done to close the Edit Repeatable Form palette.
- Repeat the steps above to continue adding more repeatable forms to the report as needed. Once multiple elements are on the Report Canvas, you can rearrange them by hovering your cursor over the element, then clicking the
icon and dragging the element to a new location on the canvas. To delete an element, hover your cursor over it on the canvas, then click the
icon.
 icon beside Display.


 icon and dragging the element to a new location on the canvas. To delete an element, hover your cursor over it on the canvas, then click the
 icon.
icon.Once you're done adding elements and configuring your report, you must add it to a report view to make it available to end-users. See the Views Overview and Create a Report View articles for more information.